Getting Started
If you are looking to contribute to the HSPI project, please see How to contribute
These instructions assume you have a default HomeSeer installation on the same computer that you’ll be developing on. If that is not the case, you can still follow these instructions, and then refer to the remaining HSPI documentation to adapt the project for your environment.
In Visual Studio, open “Tools > Extensions and Updates”

Click the “Online” tab, search for “HomeSeer”, and click “Download”.
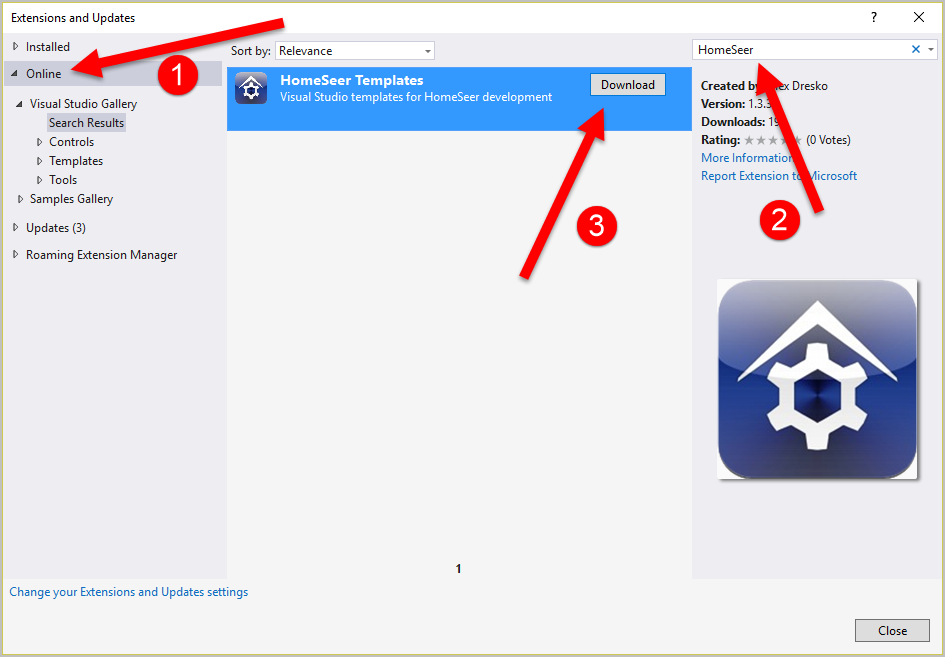
Alternatively, download it from https://marketplace.visualstudio.com/items?itemName=thealexdresko.HomeSeerTemplates-18379
Once installed, you can “File > New Project” to create a HomeSeer plugin. The templates can be found under “Templates > Visual C# > HomeSeer”.
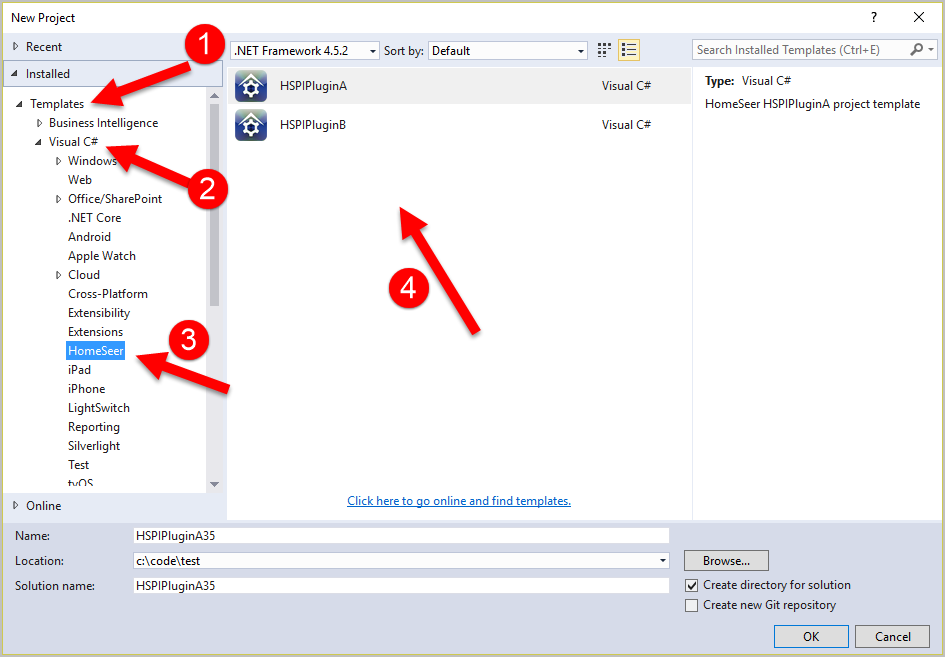
Refer to the templates list to determine which template is most appropriate.
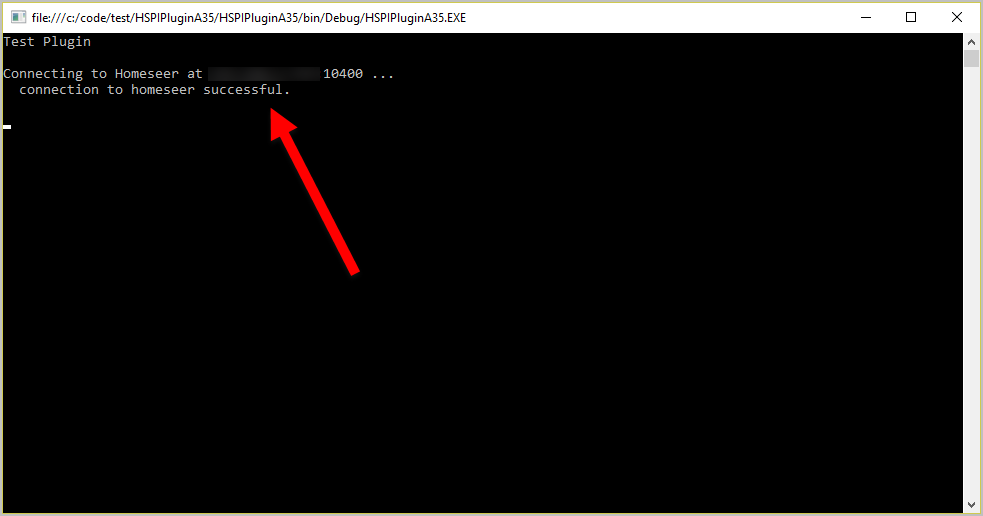
F5 to launch the project and verify connectivity to HomeSeer.
If all goes well, you should see a success message in the console window:
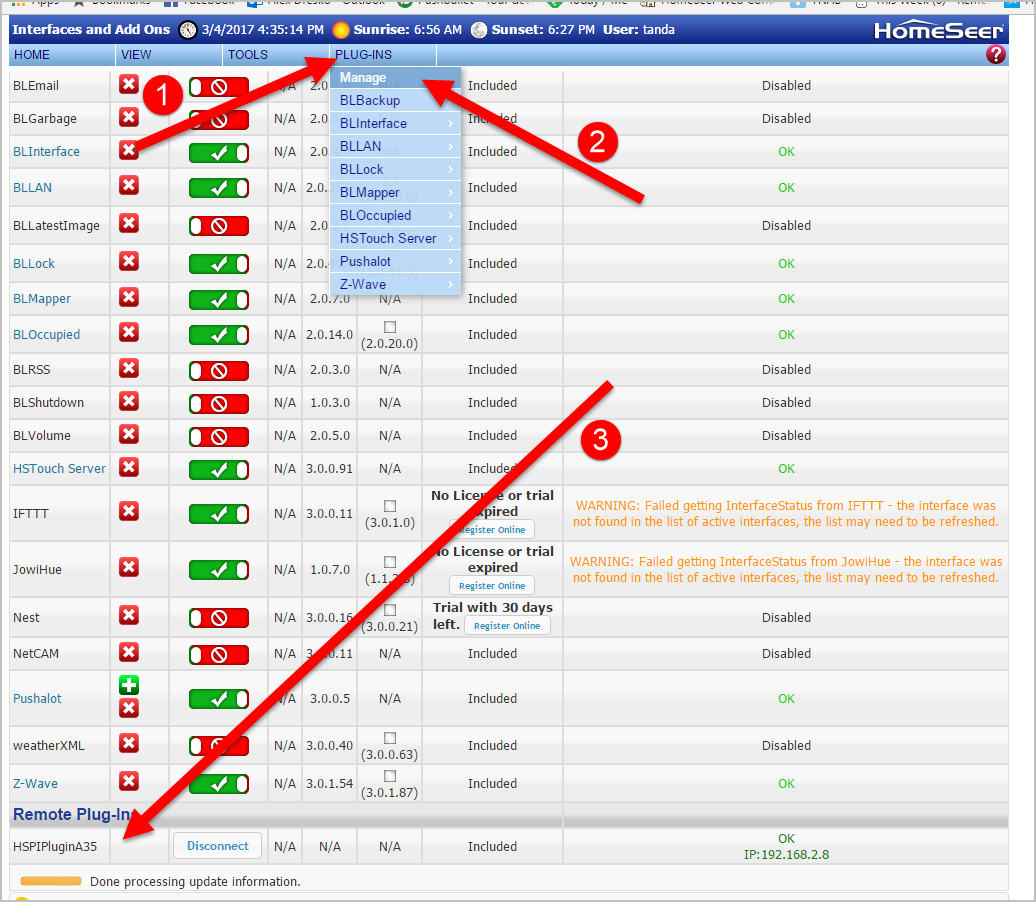
Further, you should see your plugin listed under “PLUG-INS > MANAGE > Remote Plug-Ins”: